If you are pulling hard on the brake levers without much effect on the discs, or if you are pulling the levers several times to make the brakes work, you need to bleed air from the system. The following steps will also help if you have cut hoses to fit while installing a hydraulic system, had a leak in the system, or have fitted a new hose.
Tools Needed:
-
Allen key multi-tool
-
10 mm Wrench
-
Length of clear hose
Draining and replacing brake fluid
1. Remove the wheels from the bike to reduce the chance of brake fluid falling on the brake discs.
- Place a spacer in the caliper between the brake pads (see Step 2, here).
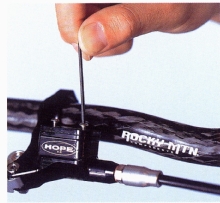
- Take off the brake fluid reservoir cover on the brake lever with an Allen key. Be careful not to let any of the brake fluid touch your hands.
-
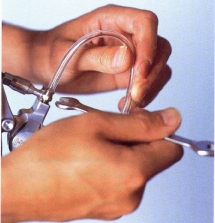
2. Slide one end of a short length of clear tube onto the bleed nipple.
- Open the bleed nipple on the caliper with a 10mm wrench.
- Put the other end of the tube into a plastic container that is big enough to hold the old brake fluid.
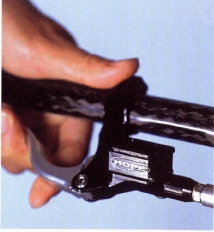
3. Pull the brake lever all the way back to the handlebar to remove some brake fluid.
- Tighten the bleed nipple.
- Make sure that all tools are at hand, since the next steps require you to be organized.
- Cover the surface below where you are working, since brake fluids can be corrosive. Use disposable mechanic’s gloves to protect your hands.
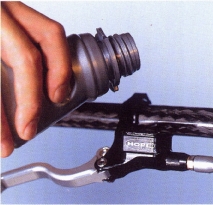
4. Angle the bike so that the reservoir is level, open the bleed nipple, and fill the reservoir with brake fluid. Pour with a smooth, constant stream to minimize air bubbles.
- Squeeze the brake lever all the way to the handlebar and hold it. Close the bleed nipple.
- Never mix brake fluids. Mineral oil or DOT 4 fluids cannot be interchanged.
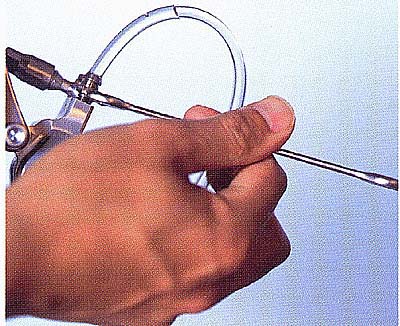
5. Repeat Step 4, filling up the reservoir until there are no more air bubbles flowing through the clear tube when you squeeze the brake lever. You will probably have to repeat this step four or five times before the bubbles in the tube completely disappear.
- Close the bleed nipple once the tube is bubble-free and the reservoir is full.
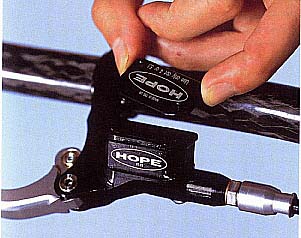
6. Replace the cover of the brake fluid reservoir but be careful not to displace any brake fluid.
- Refit your wheels and pump the brake lever a few times to center the brake pads.
- Go for a flat test ride. If your brakes are not performing as they should, there may still be air in the system. Repeat Step 4 and make sure that everything is tight.