Two alternative brake designs are commonly fitted to some new bikes. These are the side-pull caliper brakes used on children’s bikes and the U-brakes fitted on BMX bikes. Side-pulls work in much the same way as calipers, while U-brakes resemble cantilevers.
Before buying replacement cables for either of these types of brakes, first check the kind of nipple that is currently used on the bike in question. Some levers on children’s bikes and older bikes require pear nipples, while other levers need barrel nipples. When a new cable is fitted to a side-pull caliper brake, leave the barrel adjuster at the halfway point of its range.
Tools needed:
- Allen key multi-tool
- Needle-nose pliers
- Wrenches
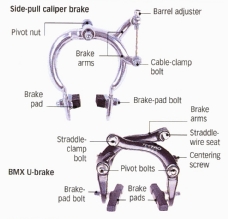
Parts of a side-pull brake and a U-brake
Image (right) shows:
Side-pull caliper brake: Barrel adjuster, Brake Pad, Cable-clamp bolt
BMX U-brake: Straddle clamp bolt, Brake arms, Straddle- wire seat, Centering Screw, Brake-pad bolt
Adjusting a side-pull caliper brake
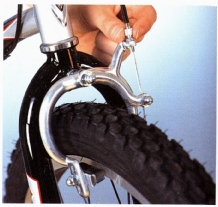
1. Loosen the cable-clamp bolt and pull the cable through until the brake pads are closer to the rim. This compensates for pad wear.
- Screw in the barrel adjuster to move the pads away or screw it out to move them closer.
- Replace pads that are worn below half their depth by undoing the pad bolt and fitting a new pad or shoe unit in their place.
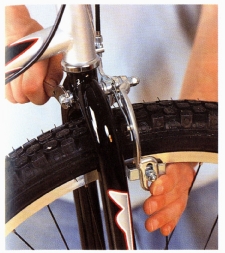
2. Center the brakes if one brake pad is contacting the rim before the other.
- Undo the brake’s pivot nut that holds it in place and is located behind the fork crown.
- Hold the caliper so that both pads are an equal distance from the rim and tighten the pivot nut.
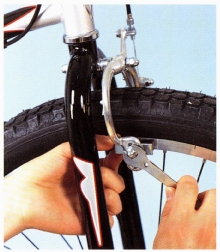
3. Inspect the pads regularly. If you find any ridges on them, replace the pads (see Step 1) and then line them up as described above, so that their entire surface contacts the rim.
- Undo the pad bolts, line up the pads, and tighten the bolt so that the brake pads contact the rim directly in line with it. Do this when you replace worn pads, too.
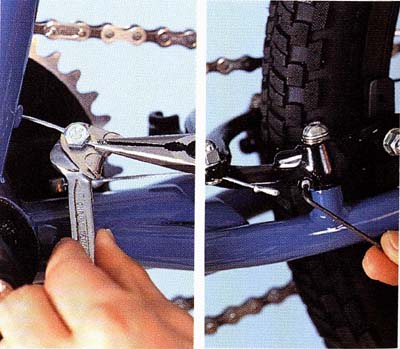
Adjusting a BMX U-brake
1. Undo the straddle clamp bolt and pull the brake cable through the straddle with needle-nose pliers to take up the pad wear. Then tighten the nut.
2. Use an Allen key to adjust the centering screw on each brake arm if the pads do not contact the rim at the same time. Screw in to move the pad away from the rim.
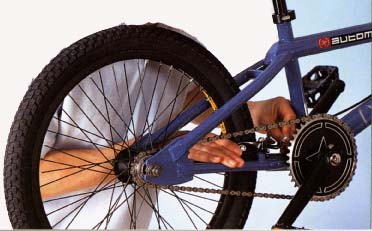
3. Line up or replace pads in the same way as caliper brakes. Replace the brake pads by removing the pad bolts and fitting new pad and shoe units.
- To reconnect the brake, pinch the brake arms and then hook the wire back onto the straddle.