V-brakes are fitted to most new mountain bikes because they give good stopping power. Maintaining brake performance is crucial because of the harsh conditions to which mountain bikes are sometimes subjected, so knowing how to adjust the brakes at home and out on the trail is very important.
Pad alignment and brake travel need to be checked and adjusted regularly to keep them working properly. Bear in mind that as soon as you ride off-road you will increase brake pad wear. Even a single ride can render already worn pads useless, so change them before they need it.
Adjustment in the workshop, especially pad alignment, is best performed with the tire removed, since off-road tires are bulky and can get in the way. Wheels must run true before setting up brakes.
Tools needed:
- Needle-nose pliers
- Full set of Allen keys or Allen key multi-tool
- Philips screwdriver
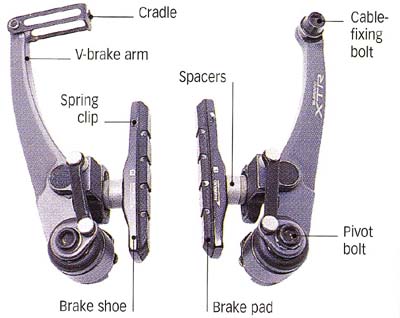
Parts of a V-brake
Image (right) shows:
Brake shoe and pad; etc.
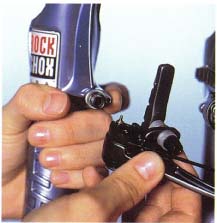
Adjusting a V-brake
1. Make sure the stopper pin on each brake arm is seated in the same hole on the brake bosses. If it is not, remove the pivot bolt, slide the brake arm off the boss, and put the pin into the correct hole.
- Replace the pivot bolt and retighten it. If you notice that the brake boss was dry with the arm removed, smear a little grease on it.
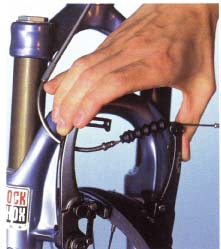
2. Press the brake arms together. If they are not vertical when the pads touch the rim, rearrange the spacers on either side of the pads until they are vertical.
- Release the brakes by unhooking the cable- guide tube from the cradle. Do this when you remove the wheel with correctly adjusted V-brakes.
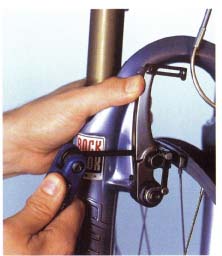
3. Check the pads. If they are worn, remove the pad-retaining clip, push the old pad out of the shoe, and replace it with a new one.
- Undo the brake-pad fixing bolt, remove the pad and shoe assembly, and switch the spacers around.
- Line up the pads so that they hit the rim with their entire braking surface, and are parallel to it. Then tighten the fixing bolts.
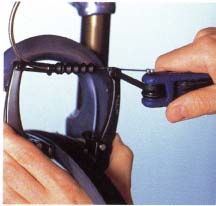
4. Retention the brakes by hooking the cable back in its cradle.
- Make sure the gap between each brake pad and the rim of the wheel is 1mm.
- Undo the cable-fixing bolt with an Allen key and pull the cable through until the 1mm gap is achieved. Then tighten the cable-fixing bolt.
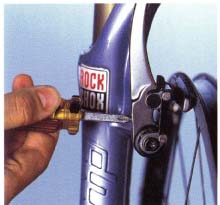
5. Use a Phillips screwdriver to tighten or loosen the centering screw on each brake arm. The aim is to make both arms move an equal distance before the pad touches the rim when you apply the brake lever.
- The tension on each screw should ideally be even, since there is an equal number of spacers on either side of the brake arm.
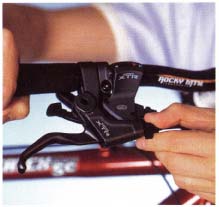
6. Screw out the barrel adjuster on the brake lever to reduce brake travel and make the brakes feel more responsive.
- Screw the adjuster outward to reduce brake travel and create firmer braking. This technique is quick and easy to perform, and is especially useful for riding in wet conditions, when brake pads can wear down rapidly.