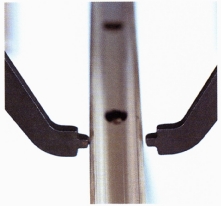
The steps in this sequence explain how to replace a single broken spoke and how to true a wheel, a term for straightening the rim of a wheel. However, replacing multiple spokes, replacing spokes in nonstandard wheels, and truing a wheel that has been buckled by some kind of impact are jobs that are best left to the experts in a good bike repair shop.
It is essential to true the wheel after replacing a broken spoke because the wheel rim is kept straight by the combined pull of all the spokes acting on it. If one spoke breaks, its pull is eliminated and the rim as a whole goes out of line.
A wheel jig is needed to true a wheel properly. This tool holds the wheel securely in place, and its jaws provide a reference point on either side of the rim to help judge how far out of line the wheel is. Bringing it in line is a matter of tightening the new spoke until it reaches the same tension as the old spoke.
-
Spoke key
-
Wheel jig
-
Needle-nose pliers
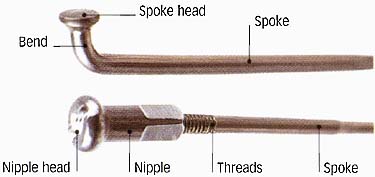
Parts of a spoke
- Spoke head
- Bend
- Nipple head
- Spoke
- Threads
Replacing a spoke and truing a wheel
1. Remove the wheel and take off the tire and inner tube.
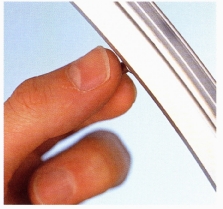
Lift up the rim tape next to the broken spoke and push the spoke upward and out of the rim. If the head of the spoke is broken, measure the broken spoke so you can buy the correct length to replace it. If the break occurred in another place, measure the two pieces to get the right length.
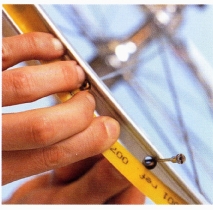
2. Insert the new spoke , threads first, into the hub flange from the opposite side from its two neighbors.
- Lace the new spoke into the wheel, under and over the neighboring spokes. To do this, look at the spoke four along and lace the new spoke exactly the same way.
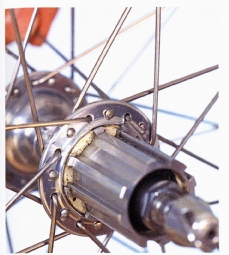
3. Push the nipple of the new spoke through the rim hole from inside the rim and screw it onto the spoke.
- Remove the rim tape to make it easier to fit the nipple onto the new spoke.
- Check the rim tape -- if you see any splits, or if it is frayed, replace the tape.
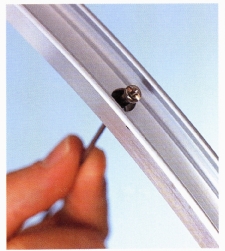
4. Screw the nipple onto the spoke. For the first few turns you can use your fingers.
- Go back to Step 2 and make sure it is laced exactly the same way as the spoke four along from it. If it is not laced properly, tensioning the spoke in Steps 5 and 6 could damage the wheel.
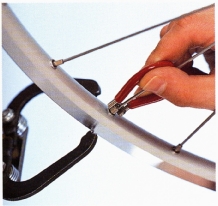
5. Put the wheel into a wheel jig and take up the remaining slack on the spoke nipple by tightening it with a spoke key. Make sure that the spoke key is precisely the right size for the nipples on the wheel.
- Stop short of making the spoke as tight as its neighbors at this stage.
6. Use small, measured turns of the spoke key to tension the spoke.
- Rotate the wheel so that the nipple of the new spoke is between the jaws of your jig.
- Note how out of line the rim is, then give the nipple a one-quarter tightening turn and check again between the jaws. Repeat and check each quarter -- turn until the rim is straight.
