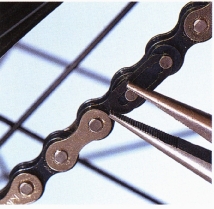
- chain link extractor (or this chain tool)
- needle-nose pliers
Replacing a chain is a regular maintenance task. All chains eventually wear out, even if you clean and lubricate them properly. A worn chain, as well as being inefficient, will quickly wear out other drive parts and end up costing you money.
To determine how much a chain has worn, either use a specialist gauge from a bike shop or measure the length of 24 links. If the length is greater than 12in (300mm), the chain is worn.
New chains on derailleur gear systems are linked with a joining pin that comes with the chain. You will need a link extractor tool to make this join. The thicker chains of hub gears, BMX bikes, and some fixed-gear bikes are joined by split links.
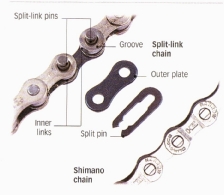
Below: Parts of a split-link and a Shimano chain.
CLICK HERE to shop for chain products.
Replacing a derailleur chain
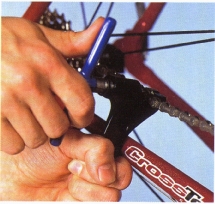
1. Shift onto the smallest chainring and cog so that the chain is slack.
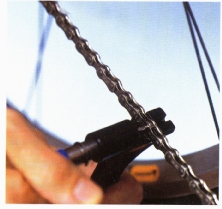
- Place a link in the link extractor and push out the pin until the chain breaks.
- Remove the old chain with the link extractor.
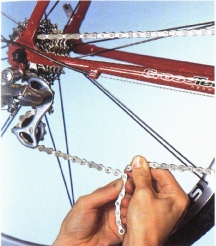
2. Thread a new chain through the jockey pulleys and around the biggest chainring and smallest cog.
- Pull the ends of the chain together so that there is a little tension in the jockey pulleys. This establishes the length of chain you need.
3. Remove the excess links from the opposite end from the one on which there is a joining link. Leave an inner link so that the two ends can be joined together.
- Close the chain by pushing the pin of the Joining link through the opposite inner link with the extractor tool.
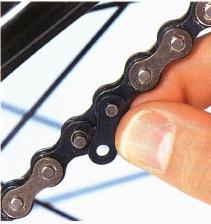
4. Loosen any stiff links that occur when the chain links are compressed during Step 3.
- Flex the stiff links with a little sideways pressure until they become loose (inset).
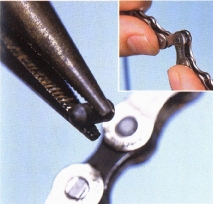
- Remove the protruding part of the pin after joining a Shimano chain, since these have an extra-long joining pin.
- Break off the excess with needle-nose pliers.
Joining a split-link chain
1. Join the chain by pressing the side of the split link with the pins fixed in its plate through the two inner-link ends of the chain.
- Press the other plate onto the pins that are now sticking through the inner links.
2. Push the split pin into the grooves of the split-link pins. These are sticking through the outer plate that you have just fitted. The split pin’s open end should face the rear of the bike.
- Fix the split pin in place by pushing it home with needle-nose pliers until you feel it click.