Tools needed for most repair/maintenance work on front derailleurs:
- Needle-nose pliers
- 5mm Allen key
- Screwdriver
- Cable cutters
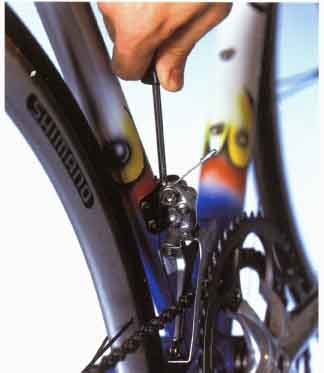
Front derailleurs shift the chain from one chainring to the next. There are two main kinds: braze-on derailleurs (right) are fixed by an Allen bolt to a lug, or protrusion, on the bike frame; band-on derailleurs are attached to a band that goes around the frame and is part of the derailleur.
There are two important maintenance jobs for a front derailleur: setting it up after fitting a new control cable and adjusting it when it is not shifting properly. You should also clean the derailleur regularly to prevent the buildup of dirt, which interferes with the way it works and will quickly wear it out.
For the derailleur to work perfectly, the lower edge of the derailleur cages outer side should be no higher than 2mm above the largest chainring. The cages outer side must also be parallel with the chainrings.
Correct shifts depend on the front derailleur's traveling a certain distance per shift. High and low adjusting screws on the derailleur will control this travel.
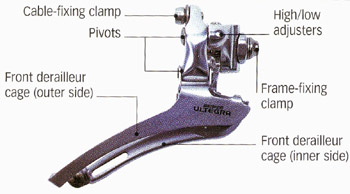
Parts of a braze-on front derailleur:
- Cable-fixing clamp
- High/low adjusters
- Pivots
- Front derailleur cage (outer side)
- Frame-fixing clamp
- Front derailleur cage (inner side)
Adjusting a front derailleur
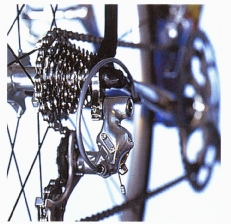
1. Shift the chain onto the largest cog and the smallest chainring.
- Pull the front derailleur cage away from the frame. The lower edge of its outer side should clear the largest chainring by 2mm. If it is more or less, undo the frame-fixing clamp and raise or lower the front derailleur.
- Line up the cage parallel with the chainrings and tighten the frame-fixing clamp.
2. Undo the cable- fixing clamp until the cable comes free.
- Look for the low gear adjuster (usually marked "L") and screw it in or out until the inner side of the front derailleur cage is about 2mm from the chain. You have now set the starting point of the derailleur's travel.
- Take this opportunity to clean the guide in which the cable runs under the bottom-bracket shell. Use degreaser, and then wash and dry the whole area.
- Put a little dry lubricant in the guide.
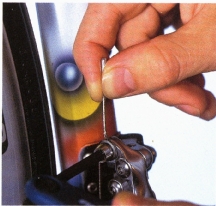
3. Pull the gear cable through the cable clamp and tighten the cable-clamp bolt.
- Cut off any excess cable with your cable cutters and put on a cable crimp.
- Repeat Steps 2 and 3 if, after a couple of rides, the chain will not shift up to the next chainring, since cables can sometimes stretch slightly.
4. Shift the chain across until it is on the smallest cog and the largest chainring.
- Repeat Steps 2 and 3 if the chain will not shift onto the largest chainring.
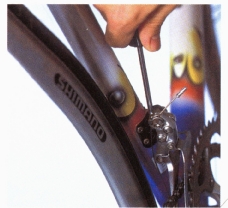
5. Screw in the high adjuster (usually marked “H”) to bring the outer side of the front derailleur cage to about 2mm from the chain.
- Unscrew the higher adjuster to allow more travel if, when you shift to the largest chainring, the chain does not move onto it.
- Check the action by shifting a few times between all the chainrings.